

Beebug
 1st August 1987
Give your programs that professional touch by incorporating one of Barry Christie's customised screen clear routines.
Custom Clearance
I have selected three different clear routines for this month's column. They come from a set of 29 which I threw together one rainy evening (true!). I'll describe them very briefly to start with, then go on to look at each in some detail. The first clears the screen from both sides at once, like a closing theatre curtain. It works in modes 0-2. The second acts more like a closing venetian blind, and functions in all modes but 7; while the third is again limited to modes 0-2, and sucks the screen into a kind of whirlpool in the centre. Additionally, the third is accompanied by a routine to act in reverse, by exploding a new image onto the monitor.
All programs should be typed in and saved before running. They assemble to &900 (though this may be adjusted to suit your convenience), and the last line of each gives instructions for saving the machine code generated when the programs are run. Each program incorporates a demonstration, the first using mode 2, and the remainder offering a choice of modes. Note however that only the last of the three routines works in shadow screen modes.
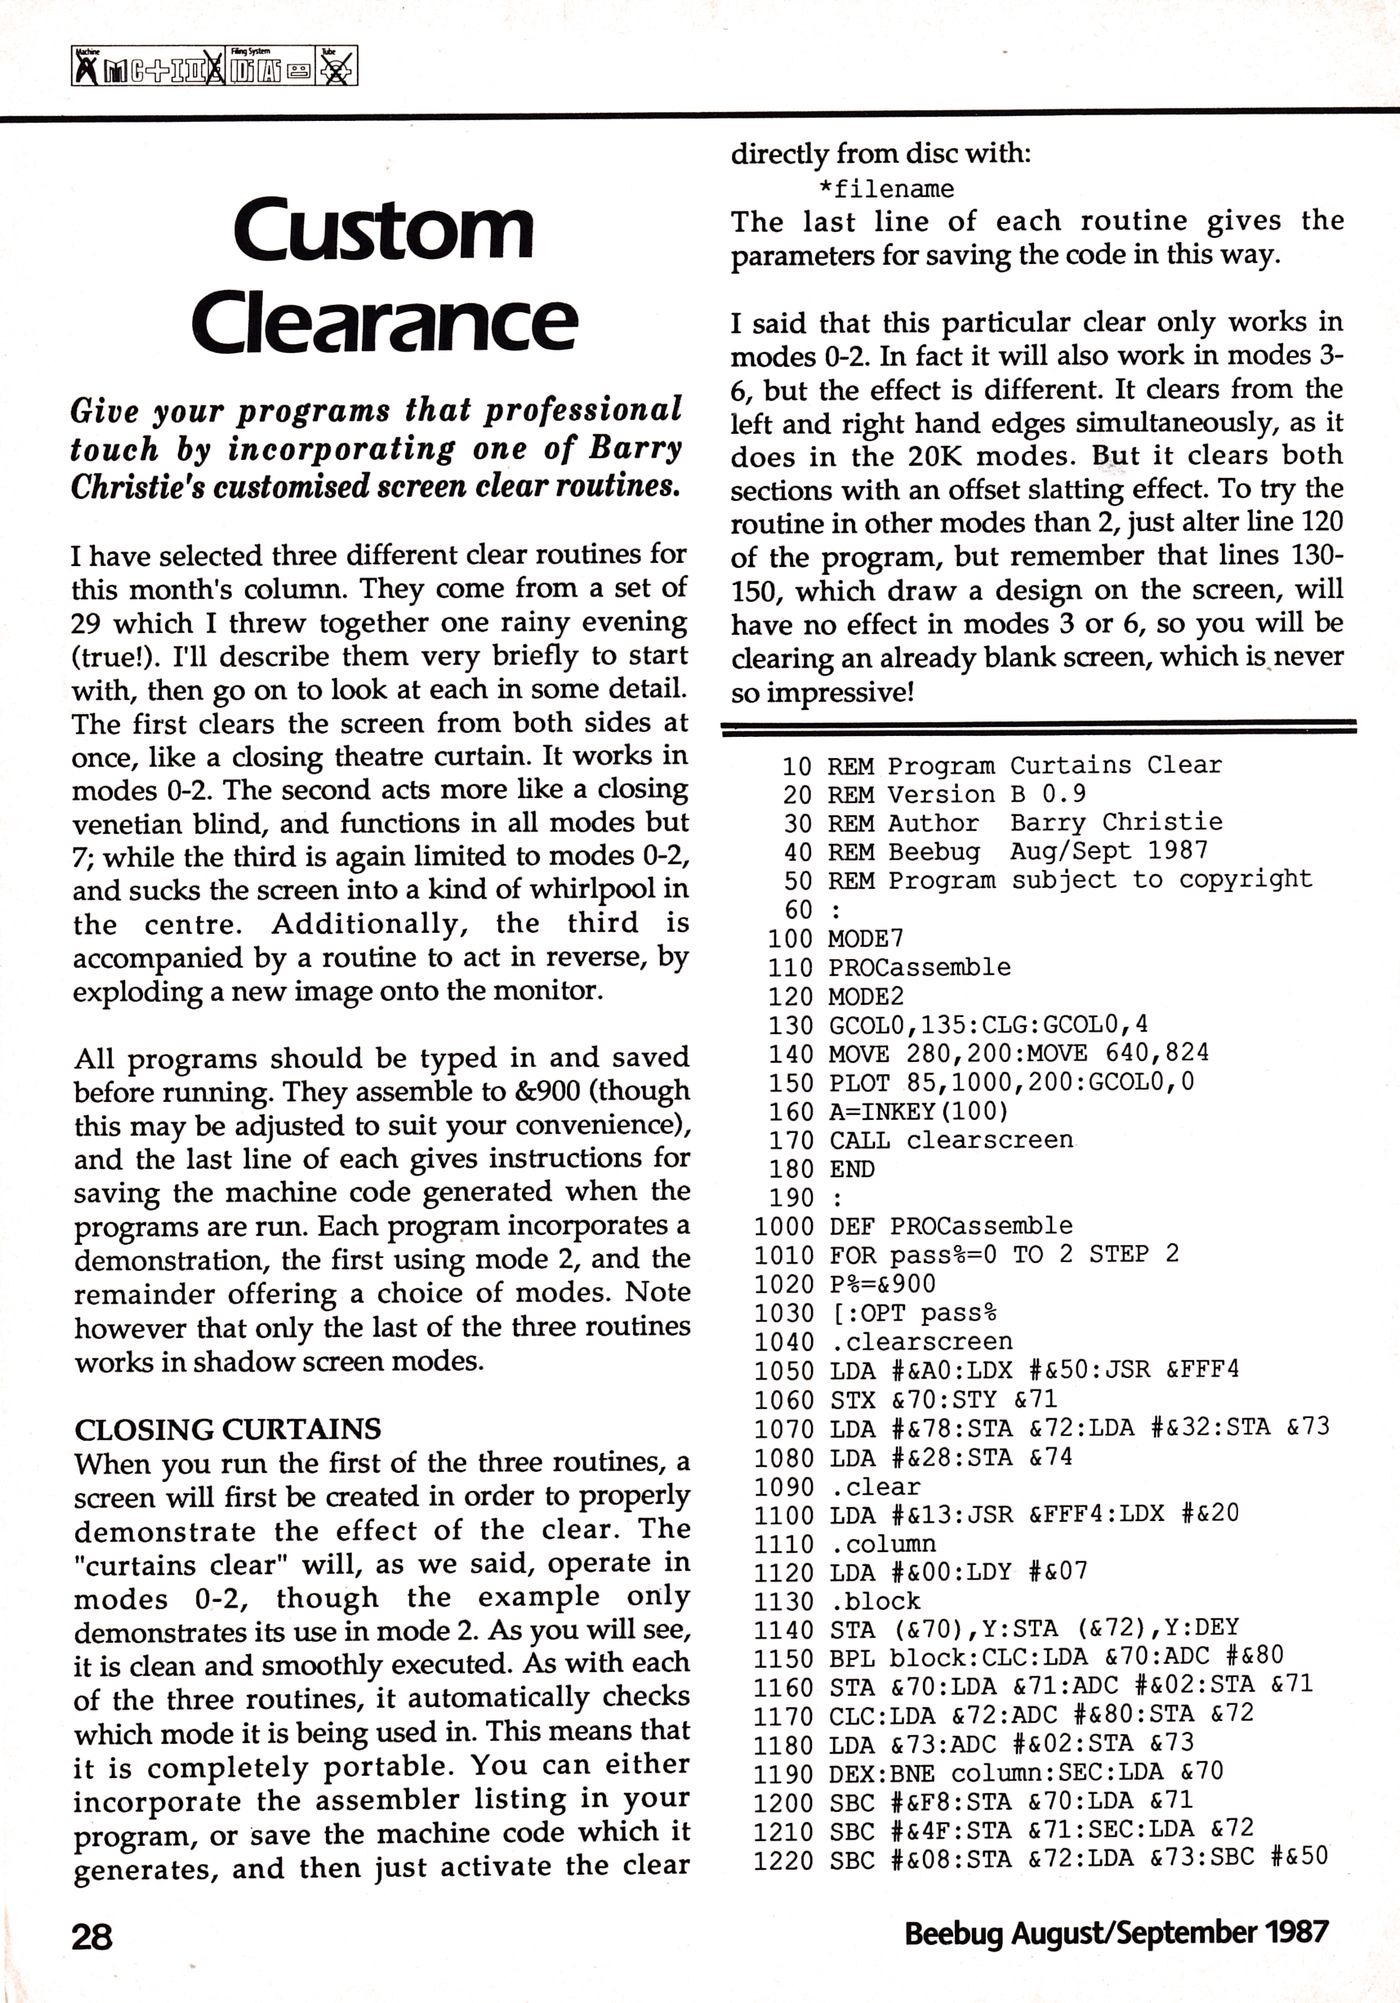
Closing Curtains
When you run the first of the three routines, a screen will first be created in order to properly demonstrate the effect of the clear. The "curtains clear" will, as we said, operate in modes 0-2, though the example only demonstrates its use in mode 2. As you will see, it is clean and smoothly executed. As with each of the three routines, it automatically checks which mode it is being used in. This means that it is completely portable. You can either incorporate the assembler listing in your program, or save the machine code which it generates, and then just activate the clear directly from disc with:
*filename
The last line of each routine gives the parameters for saving the code in this way.
I said that this particular clear only works in modes 0-2. In fact it will also work in modes 3-6, but the effect is different. It clears from the left and right hand edges simultaneously, as it does in the 20K modes. But it clears both sections with an offset slatting effect. To try the routine in other modes than 2, just alter line 120 of the program, but remember that lines 130-150, which draw a design on the screen, will have no effect in modes 3 or 6, so you will be clearing an already blank screen, which is never so impressive!
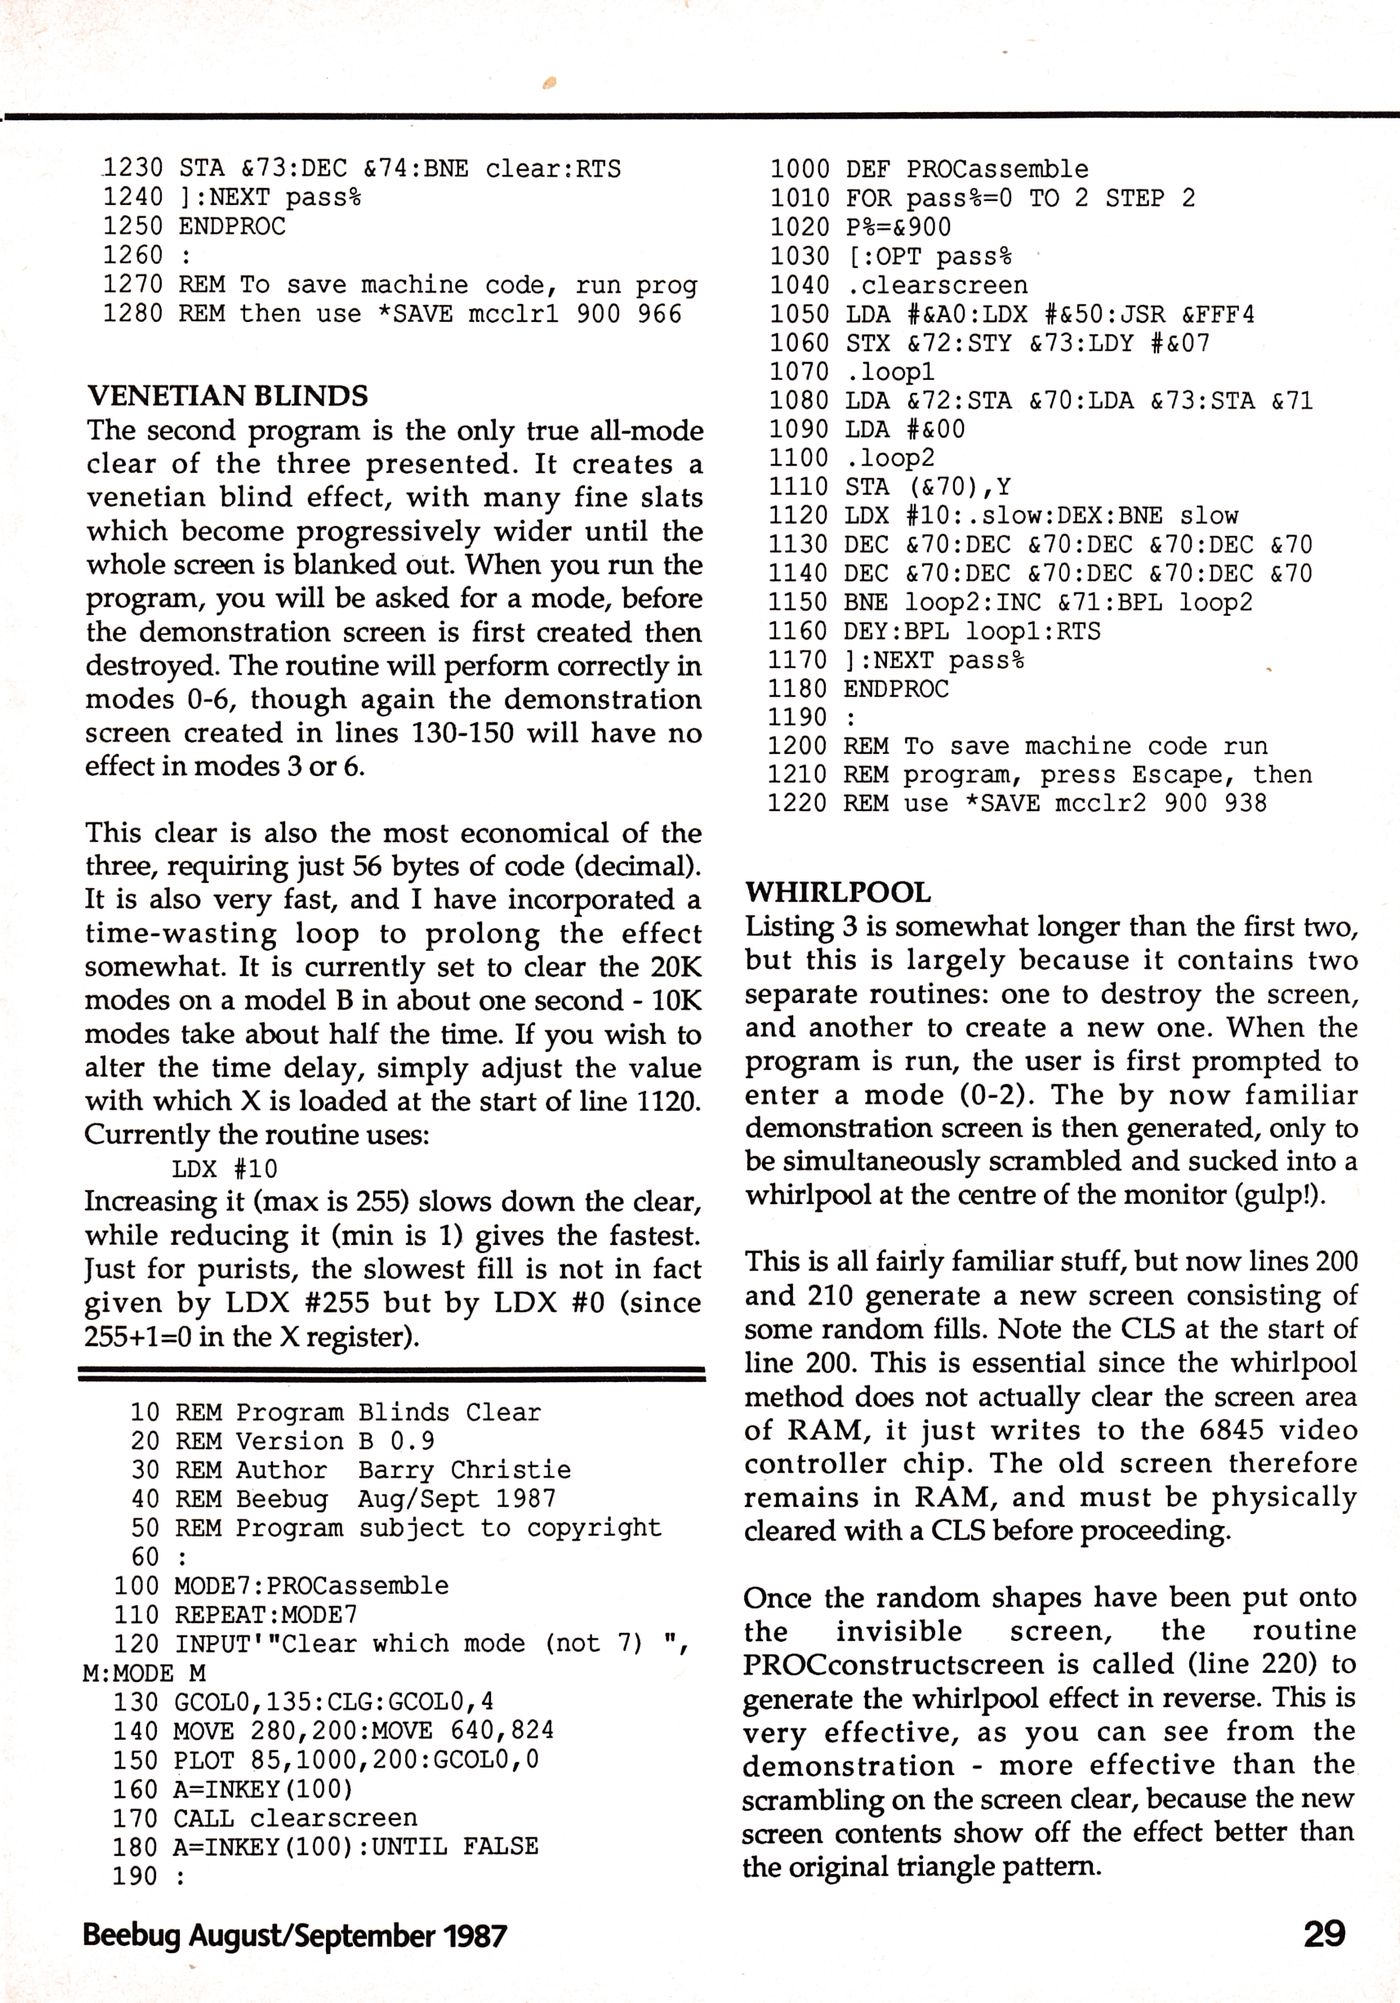
Venetian Blinds
The second program is the only true all-mode clear of the three presented. It creates a venetian blind effect, with many fine slats which become progressively wider until the whole screen is blanked out. When you run the program, you will be asked for a mode, before the demonstration screen is first created then destroyed. The routine will perform correctly in modes 0-6, though again the demonstration screen created in lines 130-150 will have no effect in modes 3 or 6.
This clear is also the most economical of the three, requiring just 56 bytes of code (decimal). It is also very fast, and I have incorporated a time-wasting loop to prolong the effect somewhat. It is currently set to clear the 20K modes on a model B in about one second - 10K modes take about half the time. If you wish to alter the time delay, simply adjust the value with which X is loaded at the start of line 1120. Currently the routine uses: LDX #10
Increasing it (max is 255) slows down the clear, while reducing it (min is 1) gives the fastest. Just for purists, the slowest fill is not in fact given by LDX #255 but by LDX #0 (since 255+1=0 in the X register).
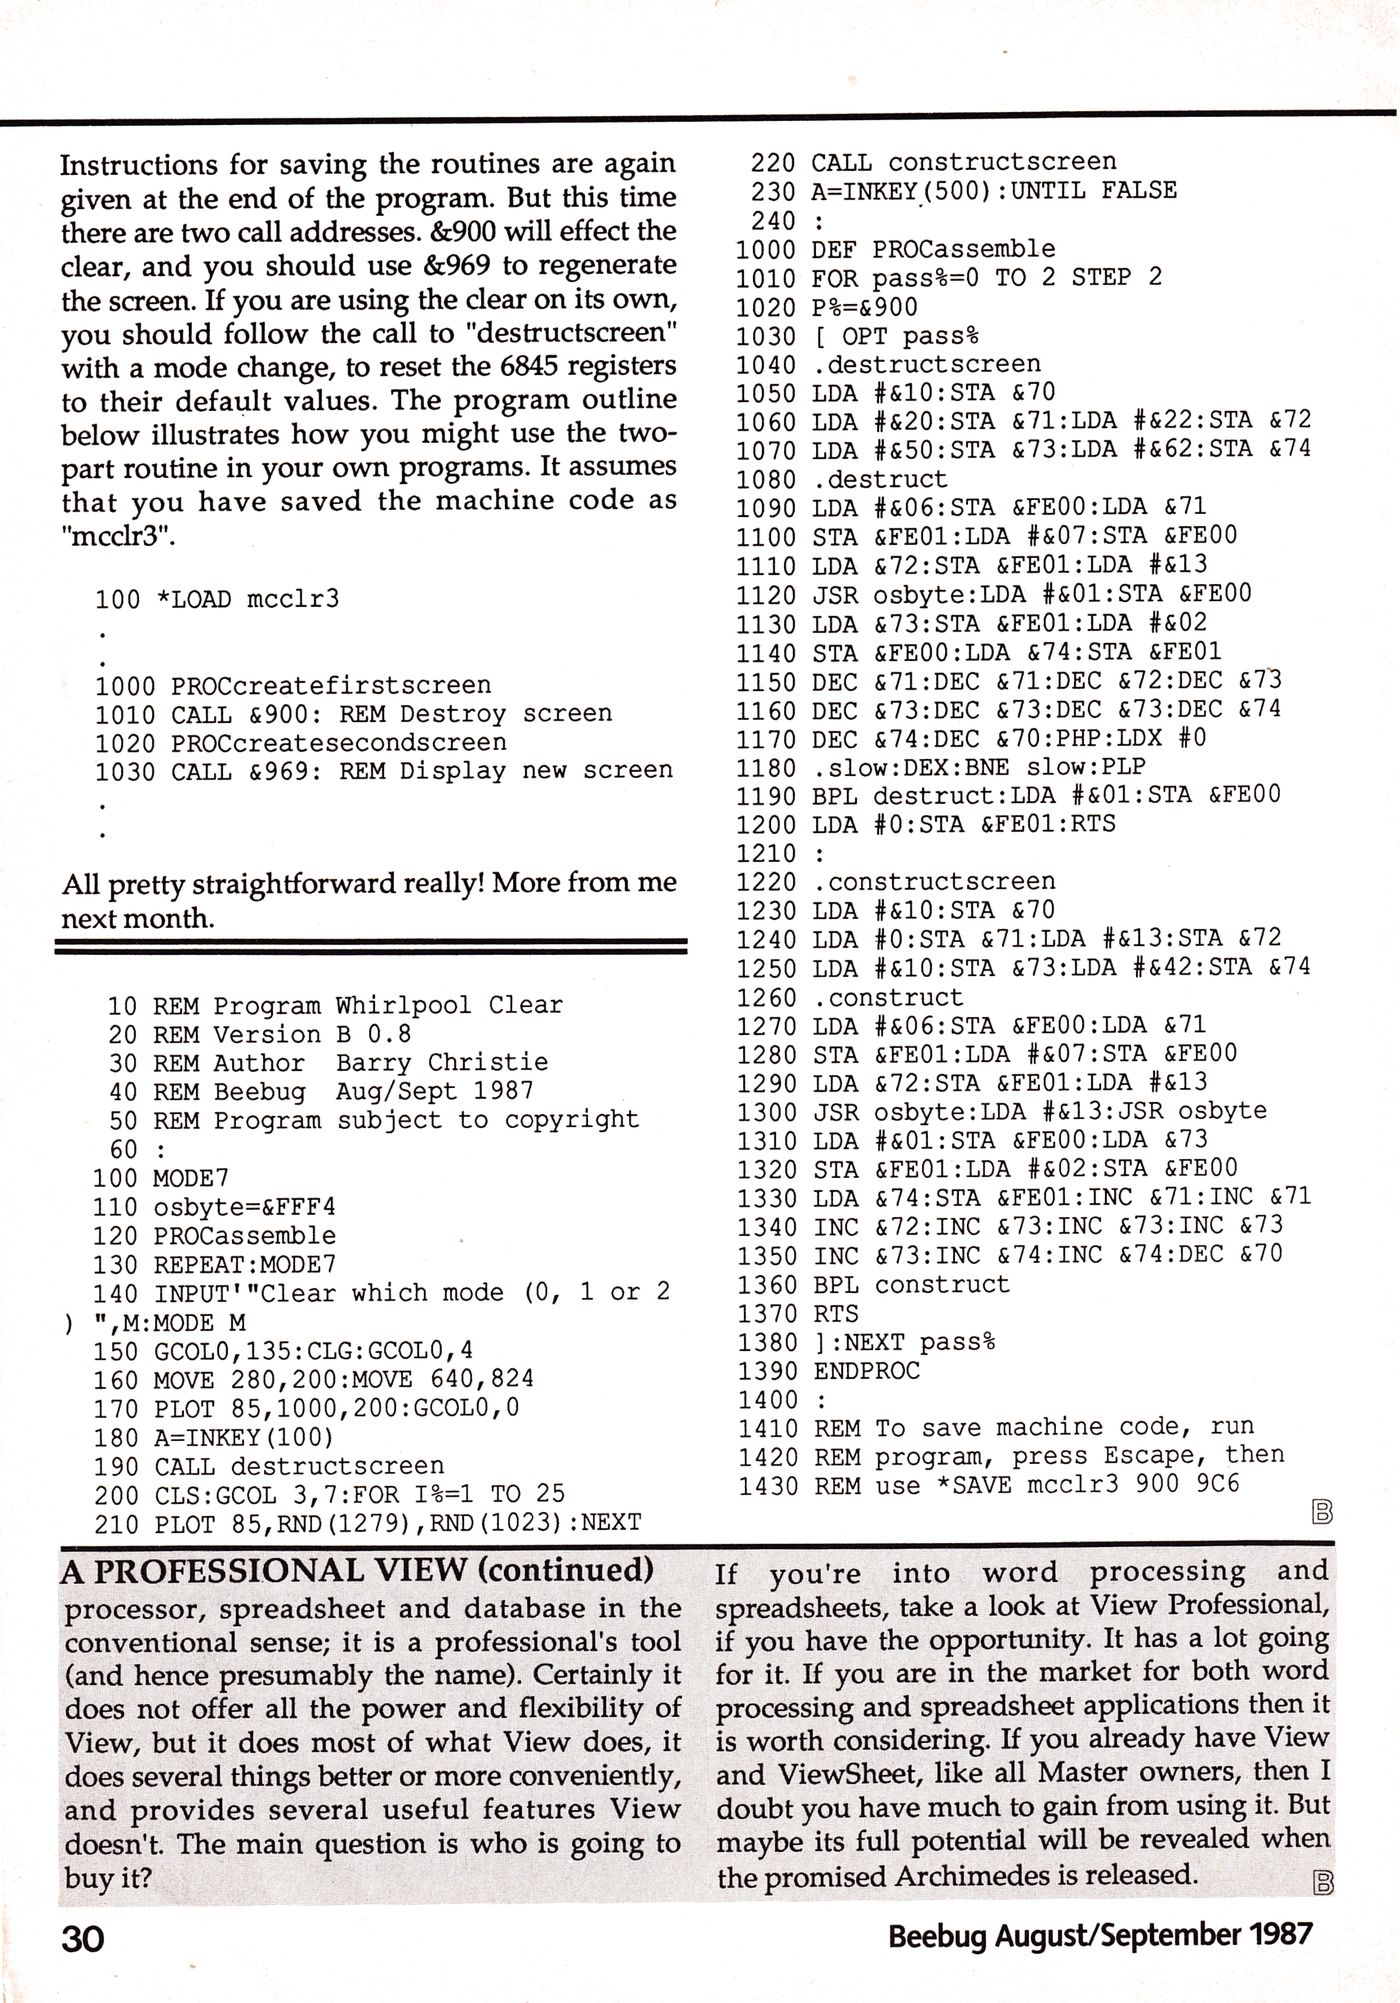
Whirlpool
Listing 3 is somewhat longer than the first two, but this is largely because it contains two separate routines: one to destroy the screen, and another to create a new one. When the program is run, the user is first prompted to enter a mode (0-2). The by now familiar demonstration screen is then generated, only to be simultaneously scrambled and sucked into a whirlpool at the centre of the monitor (gulp!).
This is all fairly familiar stuff, but now lines 200 and 210 generate a new screen consisting of some random fills. Note the CLS at the start of line 200. This is essential since the whirlpool method does not actually clear the screen area of RAM, it just writes to the 6845 video controller chip. The old screen therefore remains in RAM, and must be physically cleared with a CLS before proceeding.
Once the random shapes have been put onto the invisible screen, the routine PROCconstructscreen is called (line 220) to generate the whirlpool effect in reverse. This is very effective, as you can see from the demonstration - more effective than the scrambling on the screen clear, because the new screen contents show off the effect better than the original triangle pattern.
Instructions for saving the routines are again given at the end of the program. But this time there are two call addresses. &900 will effect the clear, and you should use &969 to regenerate the screen. If you are using the clear on its own, you should follow the call to "destructscreen" with a mode change, to reset the 6845 registers to their default values. The program outline below illustrates how you might use the two-part routine in your own programs. It assumes that you have saved the machine code as "mcclr3".
All pretty straightforward really! More from me next month.
This article was converted to a web page from the following pages of Beebug Volume 6 Number 4.
Page 28
Page 29
Page 30